Wedding Sewing 8: All about the Overlay Dress
Some would argue that I could have stopped once the top-skirt set was finished. However, it was really important to me to retain that bridal look. That was the concept and motivation behind this overlay dress. It includes the dreamy, ethereal look and the bridal features that I’ve identified early on: fitted bodice, floaty skirts, and gorgeous lace embellishment. I also could not leave out the row of beautifully covered buttons that are so iconic on bridal gowns.
Mockups and experiments!
Because the pattern pieces for the top and skirt are essentially the same, I had very little work to do for the overlay dress. The major piece for me to figure out was the back bodice piece. I wanted something that would showcase the beautiful back that I absolutely adore and not take attention away from it. My brainstorming session took me back to the fashion sketches of my base top and skirt set. I used semi-transparent paper to draw my overlay dress design and placed it over the base sketch for a visual aid. I loved the overlay effect and it helped me in deciding the back bodice style lines and lace placement. I also used photos of my base top-skirt set to draw the overlay dress design for more visual aid.
<fashion sketch with overlay dress back>


Patterning the overlay back bodice
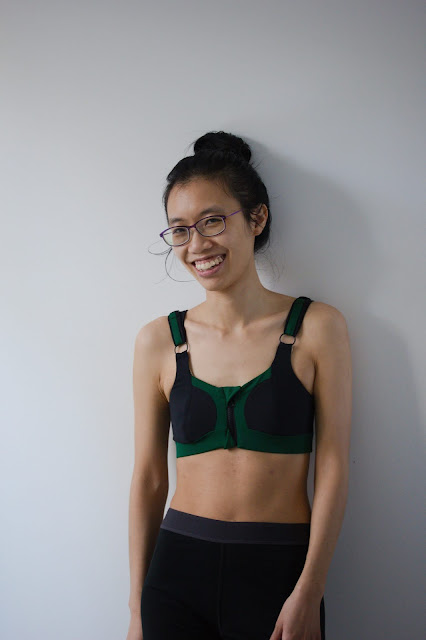
Once I finalized the back bodice design, I used my bodice sloper as a starting point. After tracing out the style lines and some dart manipulation, I laid the paper pattern over my dress form to further confirm the shape was correct and cut out a mock up. To my surprise, it fitted perfectly with no adjustments needed.
<overlay back bodice fitting>
Making the overlay dress
All the pattern pieces were ready and it was time to cut my pieces in the silk organza and tulle layers. It was my first time cutting silk and, boy, does it shift! I had to recruit all the canned food in my pantry to hold down the silk and pattern pieces. Even then, the silk shifted so much that I had to completely restart the process. It was more time consuming than I cared for, but I am glad I took the time to place and cut accurately… well, as accurate as I could. The tulle, on the other hand, was much easier to cut. Because I used glitter tulle, I had to vacuum my surfaces during and after cutting my pieces. I also used precautions to separate the tulle in a confined bin such that the glitter won’t disperse everywhere.
<canned food over cutting table>
With all the pieces cut, I could begin assembly. Again, because I had to make up my own sewing instructions, each portion of the dress was constructed in different ways. For the top front, I basted the silk organza base, the glitter tulle and the white tulle together before sewing the pieces together. The tulle layers definitely helped to stabilize the silk and made sewing much easier. All the seams were french seamed because I’m extra like that!
Design Change: Back darts
I couldn’t wait to try on the back bodice as soon as I finished basting the top together. I wore my base top and put on the overlay dress bodice, but I noticed that the back darts were extending too high. So I decided to take out the dart and use a pleat instead so that I could preserve the beautiful back without the darts obstructing the design.
<back darts before and after>
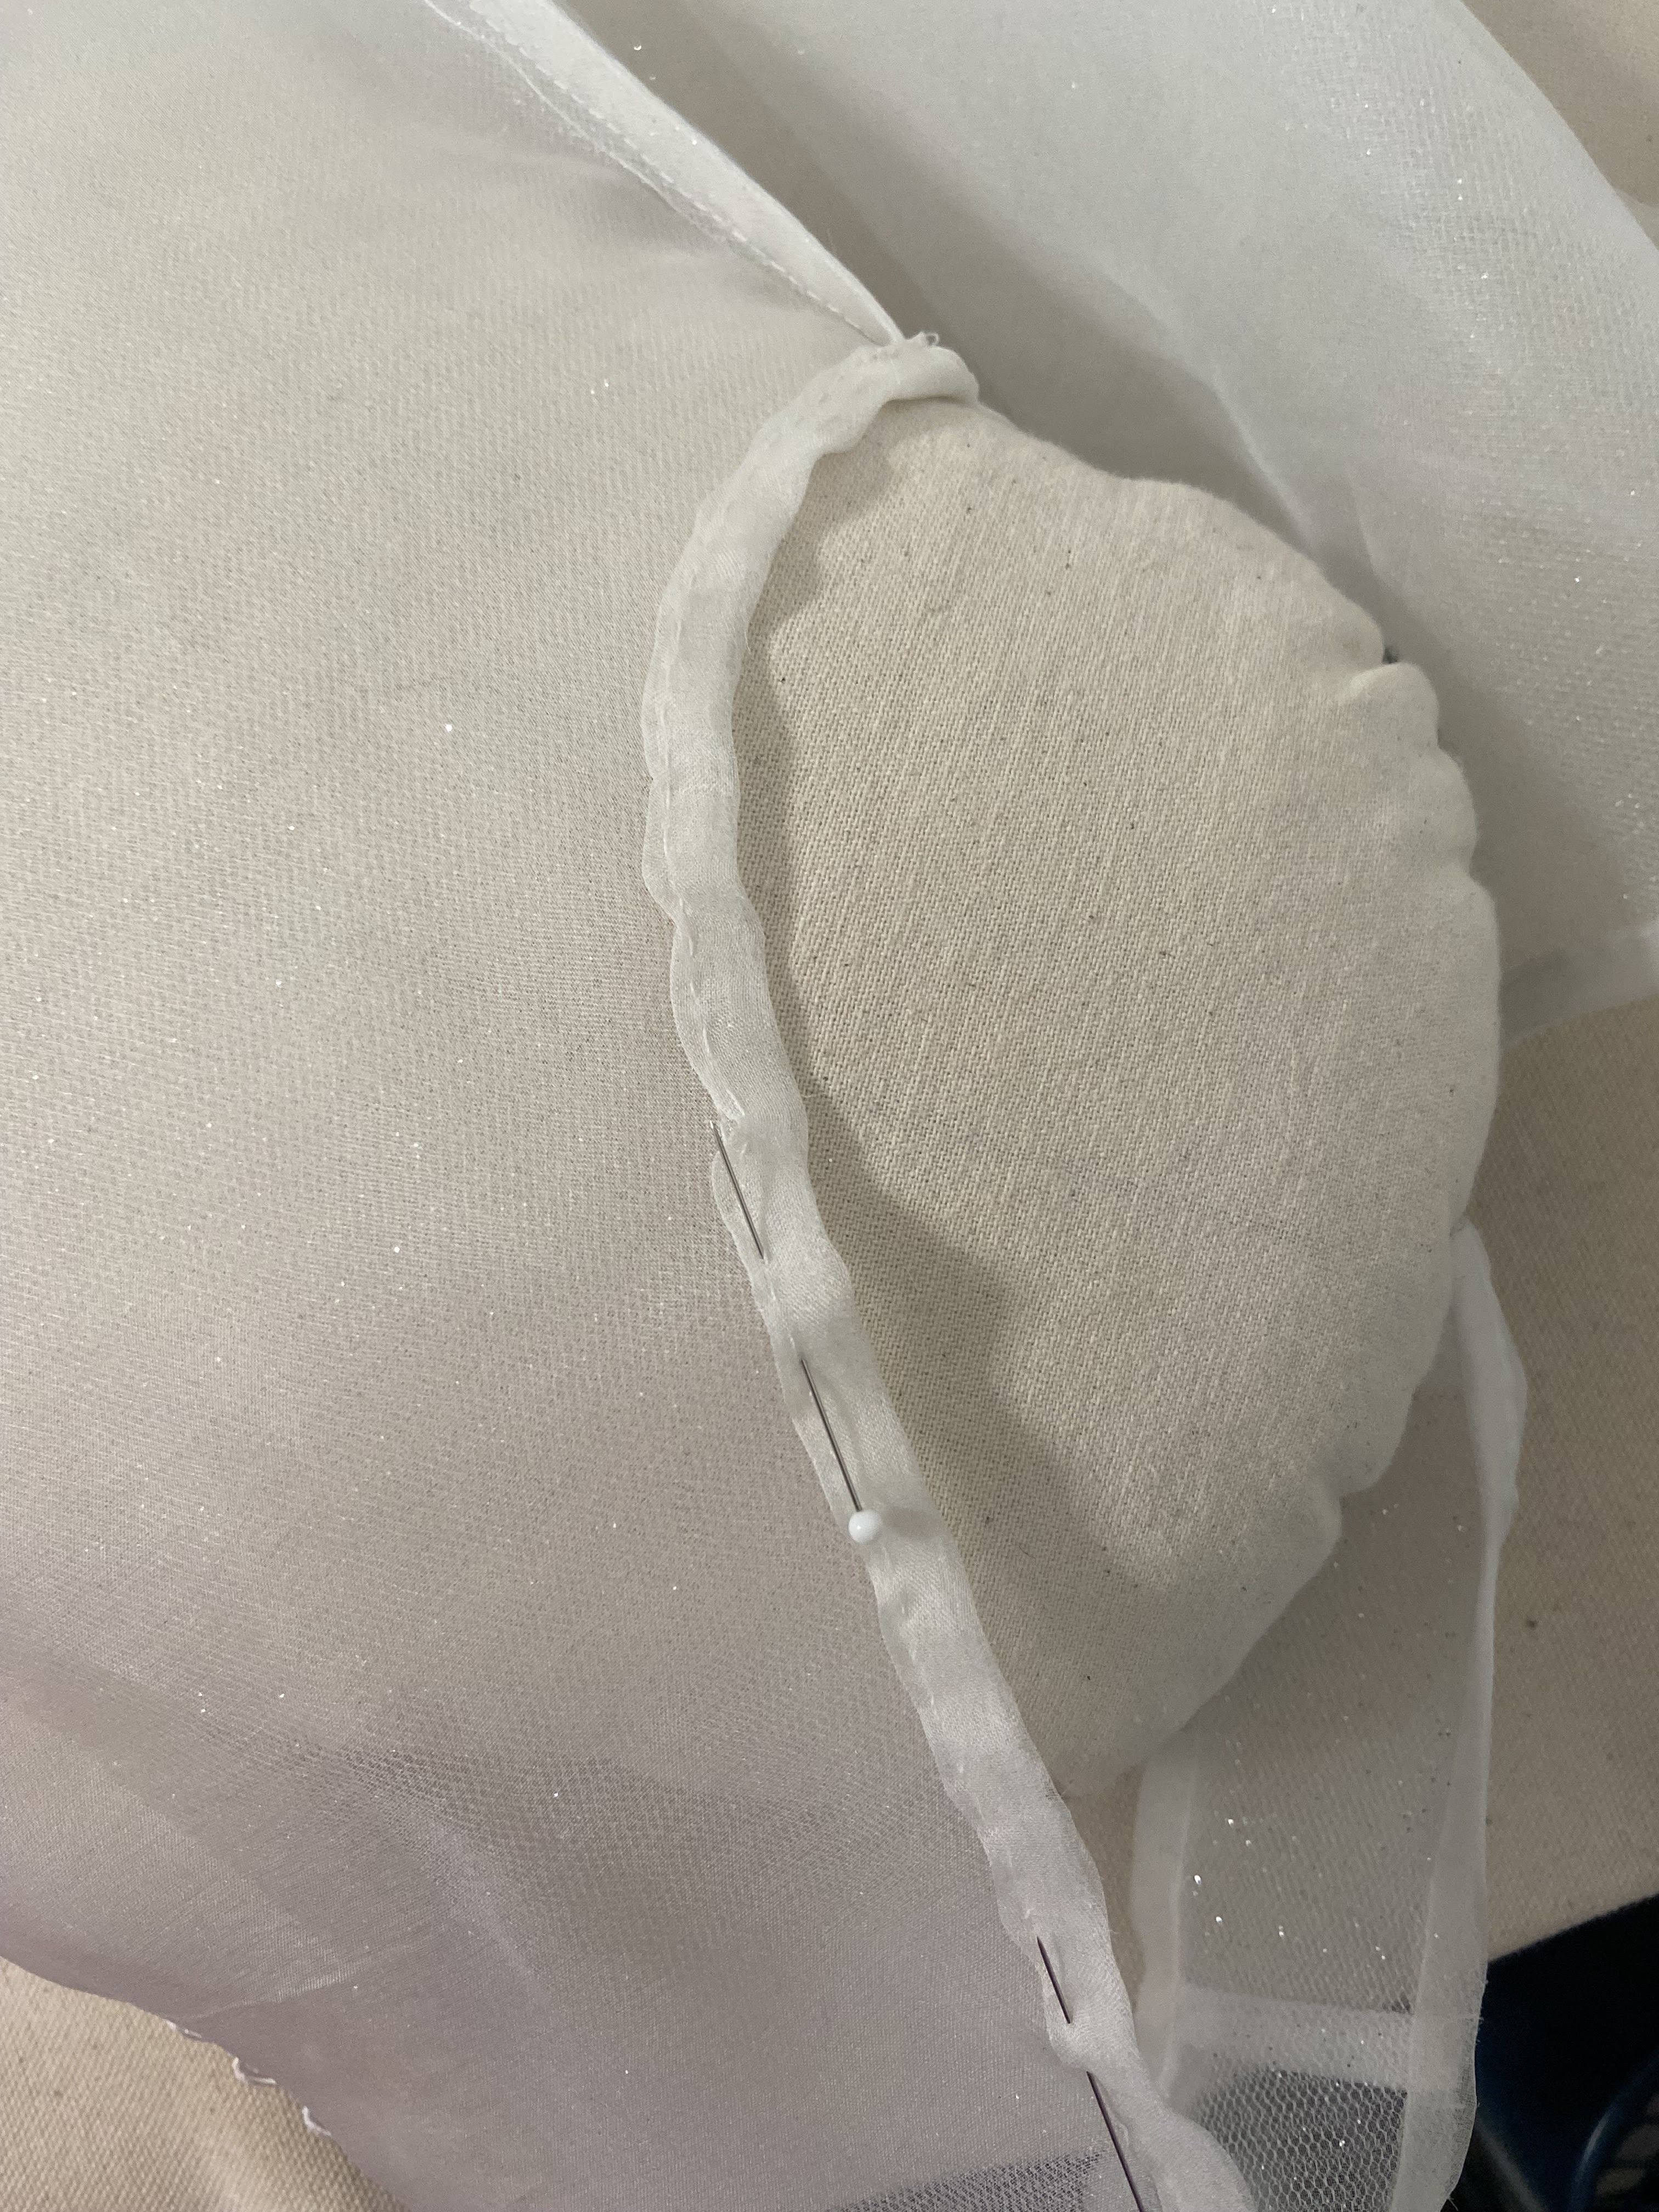
With that, the back bodice is ready to be assembled. I sandwiched a strip of silk organza selvage to stabilize the center back between the silk and tulle layers, and flipped it inside out for a clean finish. I repeated the same step for the button loop side, adding button loops on the strip of silk organza. It was really easy and satisfying to see the garment looking more bridal already!
<finished CB pic with button loops>
Making the buttons
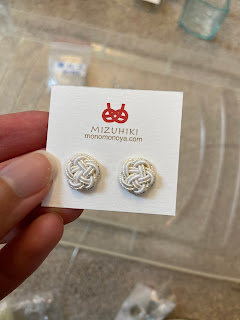
I spent quite a bit of time deciding how far apart I liked the row of buttons, but made the final decision of keeping them right next to each other. Installing the button loops made me very excited, so I took a break from sewing and made some buttons. After some experimenting with fabric samples, I picked the following layers for the buttons: linen, silk organza, and tulle on top. It was really tricky to use the prong covered button kit. I was having trouble setting the button in correctly and the cover kept popping off.
<button construction>
At this point, I turned to the internet for help and was able to consult Brenda @bridalsewingtechniques for help. She makes a series of YouTube educational videos, consults budding bridal alterations business owners, and creates a community on Discord to support bridal alterations. She is so generous with sharing her knowledge, I would recommend any serious wedding sewist out there to follow her. (Also not sponsored!) Okay, let’s get back from singing praises for Brenda. She advised that my fabric layers choice for the covered buttons may be too thick, and recommended picking out a similar color chiffon to replace the linen and organza layers. For people out there who would like to create special covered buttons by layering your fabrics, consider Brenda’s recommendation of thinner fabrics. If I had more time, I would have shopped for another fabric. But given my time constraints, I decided to get some E6000 and glue the backs together.
For sewing the buttons on, I found this YouTube video by Amanda Nicole who does bridal alterations and creations. It was a very clear and easy to understand tutorial to perfectly align the button locations, so I could hand sew 30+ buttons onto my dress!
<buttons marked!>
Skirt Construction
Each layer of the skirt was assembled separately because I want the fluffy tulle effect over the skirt for the ultimate ethereal look. Sewing the silk organza layer was the most challenging, but handbasting the layers together first made machine sewing significantly easier. Highly recommend hand-basting the silk layers together prior to machine sewing for anyone sewing silk. Then I finished the seams using french seams for the organza to prevent unraveling. Because the skirt hem would get dragged around the house on carpet as I perform fit tests, I rolled hemmed it temporarily to prevent any further unraveling. The tulle was so much easier to handle than the silk, and I machine stitched all the seams. The perk of tulle is that I don’t need to finish the edges, yay!
<basted silk organza skirt>
All the skirt layers were basted together at the waist and an invisible zipper was sewn to the skirt back. Attaching the skirt to the bodice and finishing with a french seam kept all the insides looking beautiful! During my test fit, I did notice that the skirt layers were shifting, so I chose to top stitch the darts to fix the skirt layers.
Finishing details and hanging straps
With the dress mostly assembled, I finished the neck and arm hole with strips of bias cut organza. It was really tricky to pin and sew this part, and I had to rely on hand finishing the bias tape, so don’t look too closely at my finish there!
<handsewing bias tape finish>
Browsing around Brenda’s YouTube channel, I stumbled upon a video that teaches how to add a hanging strap for the dress. I thought it would be a great idea to hold the weight of the dress in case it distorts the shoulder seam, so I followed the tutorial! It was really easy and I loved the purple ribbon I picked to go with the theme of the dress.
<hanging dress>
Embellishment
The embellishing was the part that stressed me out the most because I was worried I won’t have enough time to hand sew everything. My original plan was to play with beads, rhinestones, and lace to figure out what I wanted. I even thought I could take plain lace and add beads and sequins to tie together a cohesive embellishment design. That turns out to be a lot more work than I signed up for, and quite honestly, I was really tired from pushing myself so hard towards the finish line. So I changed my plan and focused on using all the beaded lace I had and only hand sewed beads and sequins to a few pieces of plain lace.
<sketches of lace design>
Referencing my sketches, I experimented with different lace placements by pinning pieces of lace on the overlay dress while wearing my top-skirt set for the full effect. With the dress still on me, I basted an outline of approximately where I would like the lace to cover as I wanted to preserve the design visual from the previous layer. I began with cutting out all the lace motifs and placing the lace on the dressform. At some point, it became a game of how can I combine the same motifs in a different way such that it looks more organic and less repetitive. It took a while to play with the lace placement, but I also realized I could go on forever fiddling with it. I found a good stopping point and began hand sewing FOREVER! Just kidding, it felt like forever, but I actually lost track of how many hours it was. The hand sewing was very intense, with my arm being in weird orientations, adjusting to sewing on the dressform and attempting to not attach the lace to my dress form. My arm and hand were very upset at me afterwards.
<pinned lace on dress form>
With the lace finished, I contemplated whether or not I should add beads, sequins, or rhinestones. At this point of the journey, I was very tired. And if I’ve learned anything from watching Next in Fashion, it was that less is more. Knowing when to hold back is important for a designer.
Hem?!
Last but not least, the hem. I had picked out a few pairs of shoes I had that would go with my dress, and the final winner was a pair of white heels with flowers decorations. They were not comfortable to wear, but happened to be the right height for my overlay dress! That means, I did not need to hem the tulle layers, and the organza layer was fine as is with the rolled hem.
Hallelujah! It was meant to be! I thanked the sewing gods and all the blood sacrifices I made by accidentally poking myself with needles. The dress was done. One more element to go - the cape.
<final dress with lace hanging>


Comments
Post a Comment