Wedding Sewing 9: All about the Cape
The cherry on top for my wedding outfit is the cape. Why cape? Well, first of all, I did not like veil. I tried it on at the bridal salon, understood why it was special to someone, but did not feel it was a reflection of who I am. But a cape has the drama of a long train, but is much more… me.
Significance of a cape and my identity
Yes, I should really heed Edna Mode’s advice on capes. But, the cape is significant to me because that’s how I used to identify myself at robotics events that I used to run. Due to my small stature, everyone knew to find me by looking for the bright orange cape that swooshed by in the crowds. The cape also makes me feel confident. I went from anxiously running my first 100+ volunteer event to confidently running the same events smoothly with recognition at the end of my volunteering journey.<me and my orange cape>
Inspiration of the cape design
Now that we understand the importance of the cape, let me share the inspiration. Browsing through Pinterest, I loved all the ethereal tulle capes, but this one in particular really captured my heart. The beautiful arch here echoes the back arch on my base top-skirt set. Technically, I found this inspiration first, and it informed the back arch design decision. I also really loved the straight back yoke design. There is something so powerful about this straight line that translated to confidence for me.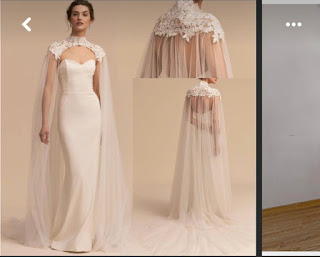 |
| Pinterest inspo |
 |
| photo credit @studio.hhfz |
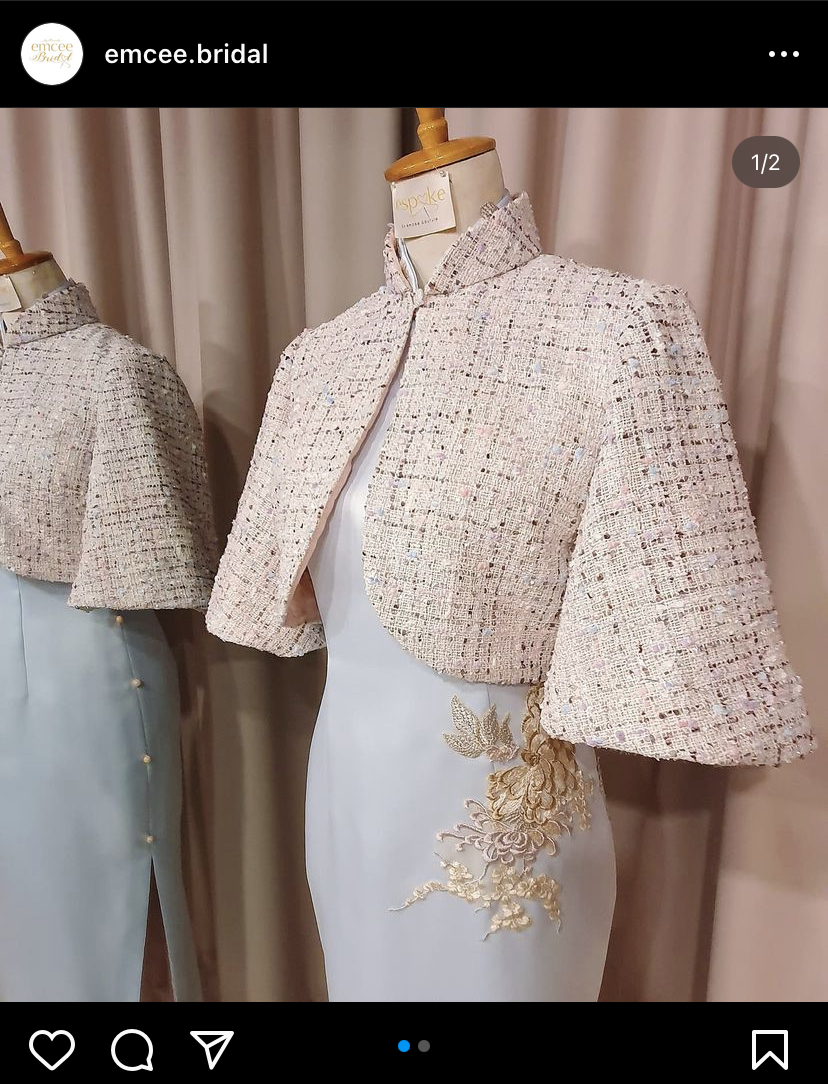 |
| photo credit @emcee.bridal |
Patterning and Mocking up
I draped the cape directly on the dress form and freehanded the arch shape at the front. The mock up also fit nicely with minor tweaks to ensure the transition between the front and back yoke pieces were smooth.
 |
| Cape mock up, front |
 |
| Cape mock up, back |
The collar was the same mandarin collar from the top. I only shortened the height of the collar by a tiny bit and made it longer around the neck opening such that the cape will fit when all the layers are on top of each other. The tiniest amount of ease for overlapping layers makes a huge difference.
Design Challenge: Ensuring cape and dress flows together
 |
| Experimenting with pleated tulle effect |
 |
| Experimented with fully covered lace effect |
 |
| Before: straight across back yoke |
 |
| After: curved back yoke |
Making the cape
Quite honestly, the cape was the easiest and quickest to put together. I had originally intended for the cape yokes to be silk organza for some structure. However, I preferred the transparency of the tulle. The tulle has a tiny bit of mechanical stretch in one direction, so I carefully cut out two layers such that the opposing stretch direction is on top of the other, rendering the pieces more stable. For this piece, I also attempted to clean finish the pieces by enclosing the seams between the two layers in opposing stretch direction. However, I was unable to enclose the gathered tulle cape attached at the yoke because the seam would become more apparent due to extra stitchings/fabric layer. The cool part about the tulle is that it does not unravel and I could get away with a raw edge. |
| Carefully gathering the cape to the right width |
I should mention here that the tulle cape part of it was super easy, and just a giant 108” tulle folded over and gathered to the right length. With my overlay dress on the dress form, I measured how long I wanted the tulle cape to extend past the dress train and went with that measurement.
 |
| Sneak peek of the whole ensemble together before applying lace. |
The collar was made with silk organza and also cleanly finished inside. I added a hook and eye to the neck opening. However, as I wore it, I noticed it shifting and becoming unhooked. Oh well! It still stayed on my shoulder without falling off.
Finishing touches
The last bit to the cape was adding the lace. Similar to what I was doing for the overlay dress, I put the cape over the dress form with a stuffed arm, and pinned lace all over until I was happy with the placement. Then I contorted myself and hand sewed the lace while the cape was on the dress form. Having a form to hand sew the lace on was amazing. Stitching the beaded lace also added more structure to the cape than I thought and I’m really glad I could have the structure without the milky silk organza look.
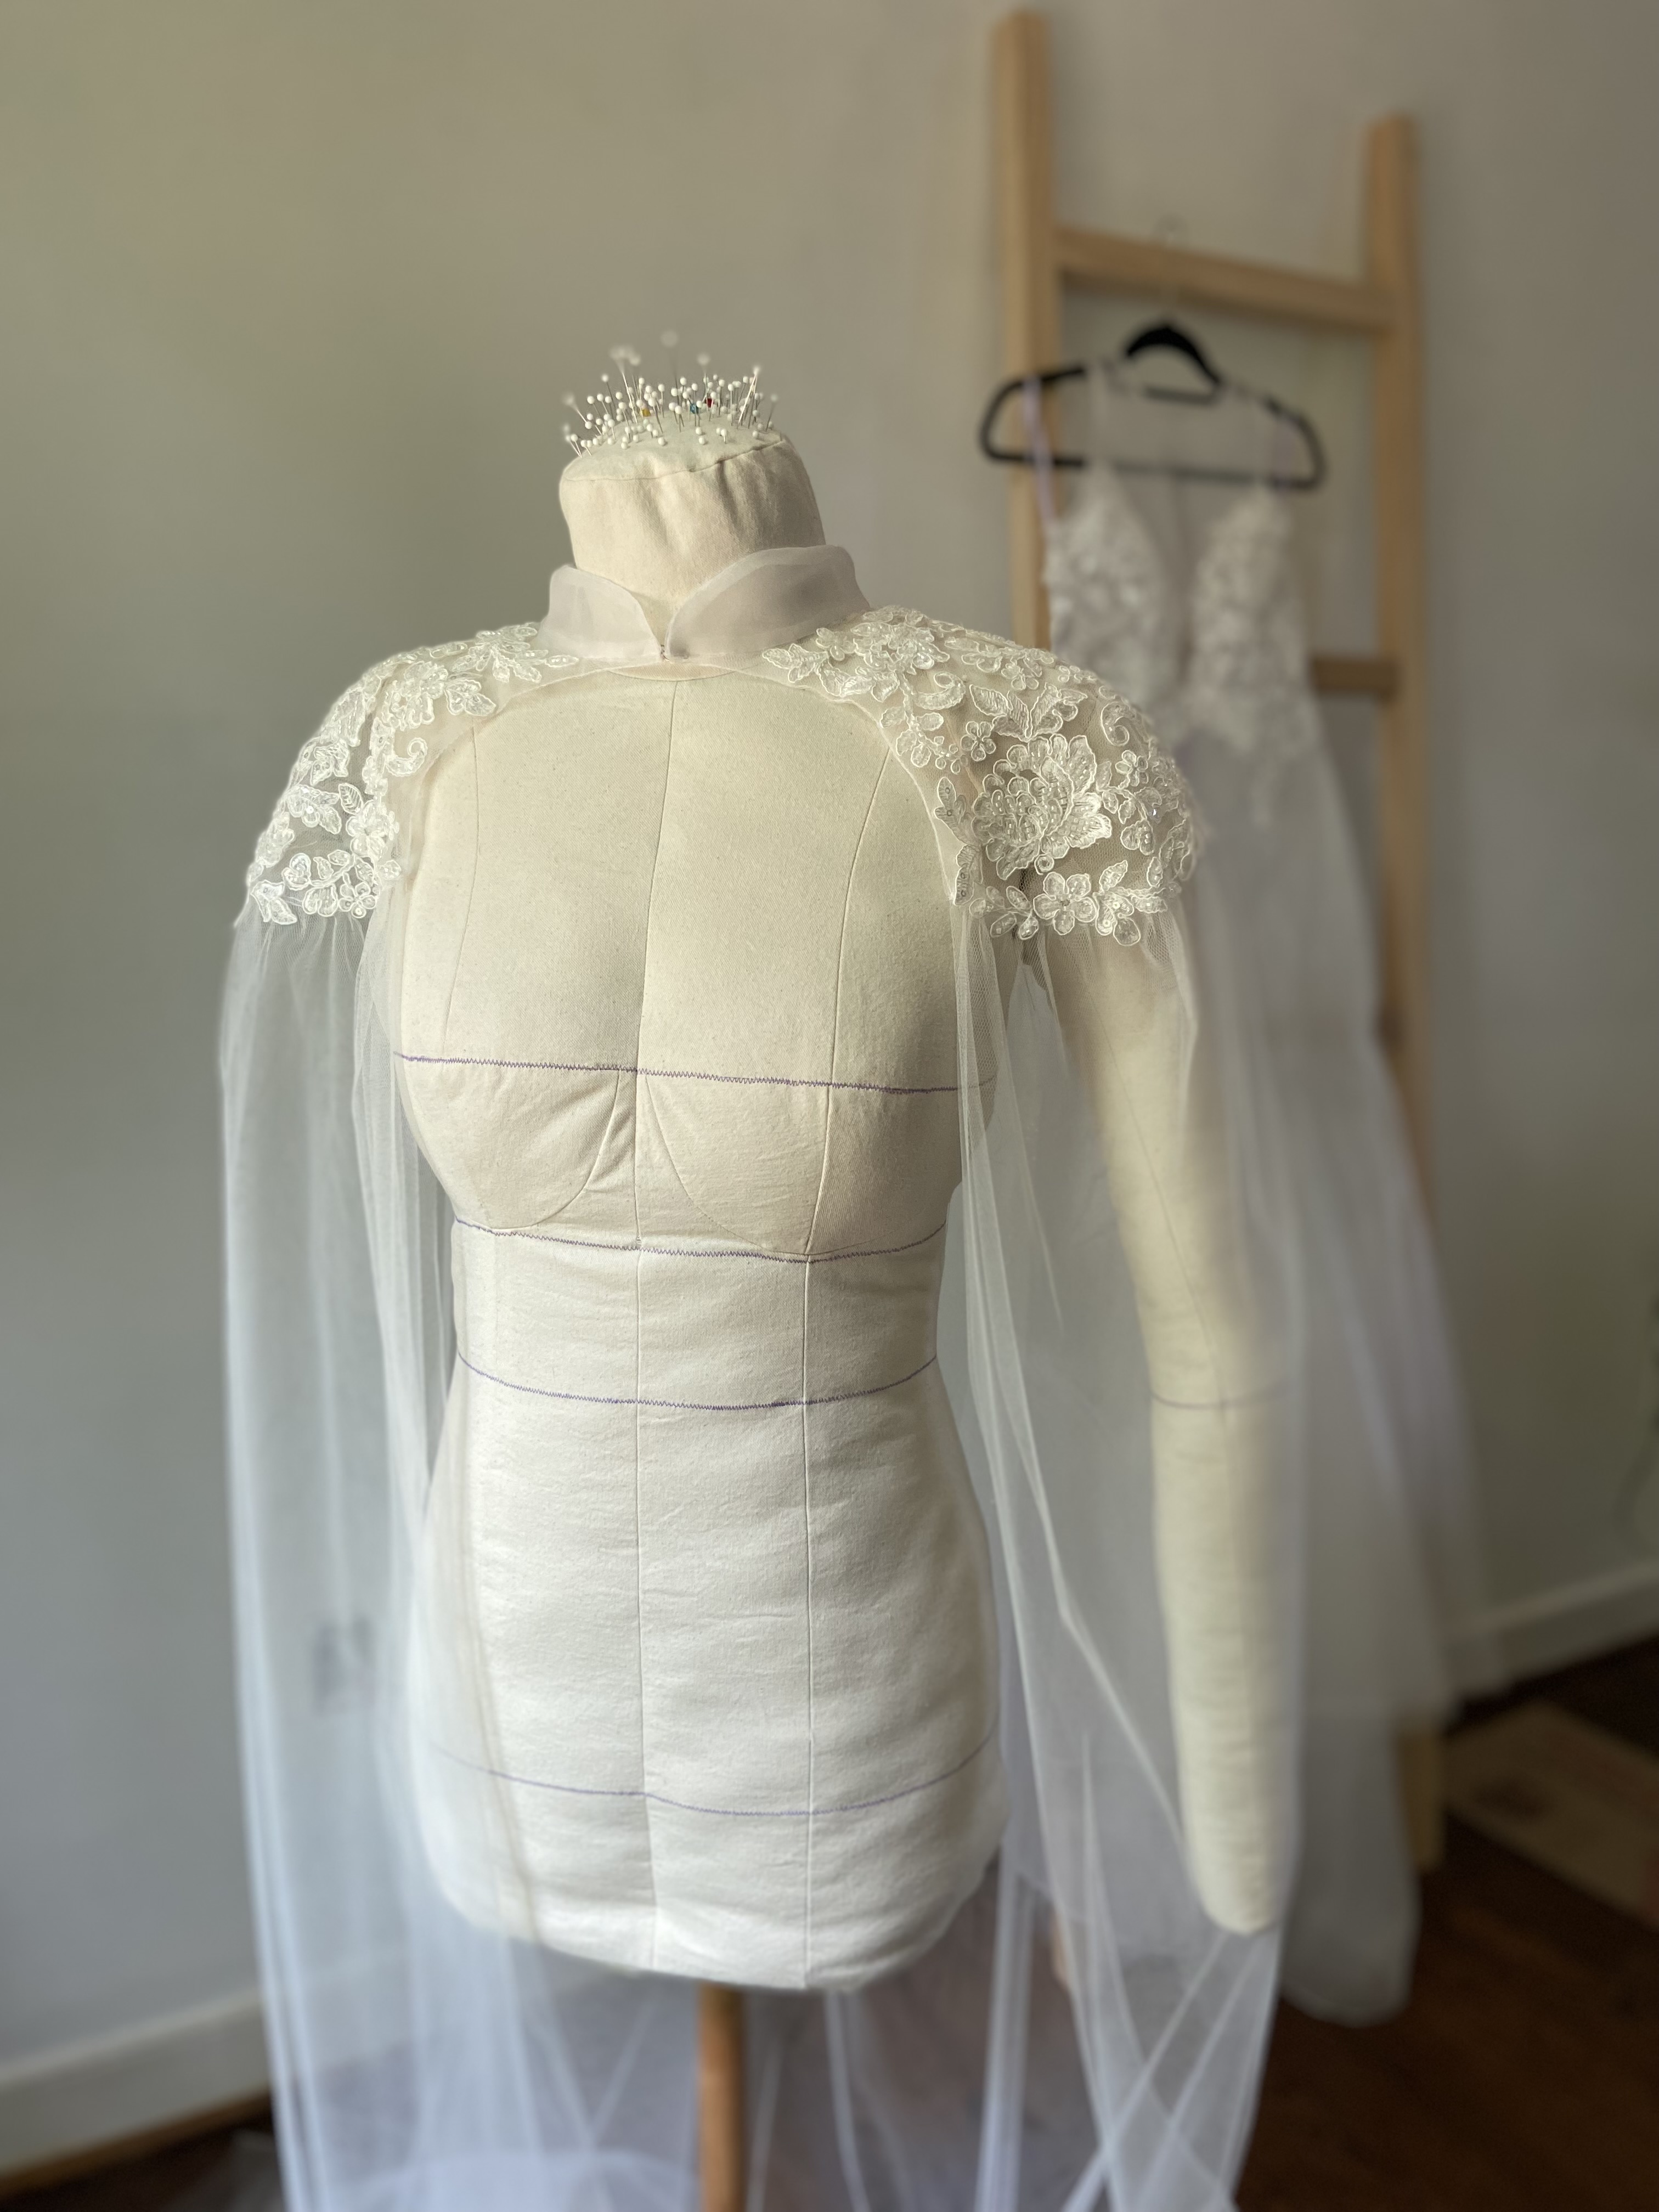 |
| Finished cape! |
Well, yall, the last post in this blog series will be about the final photos and final thoughts! I sincerely hope you have enjoyed following my journey. See you soon!
Comments
Post a Comment